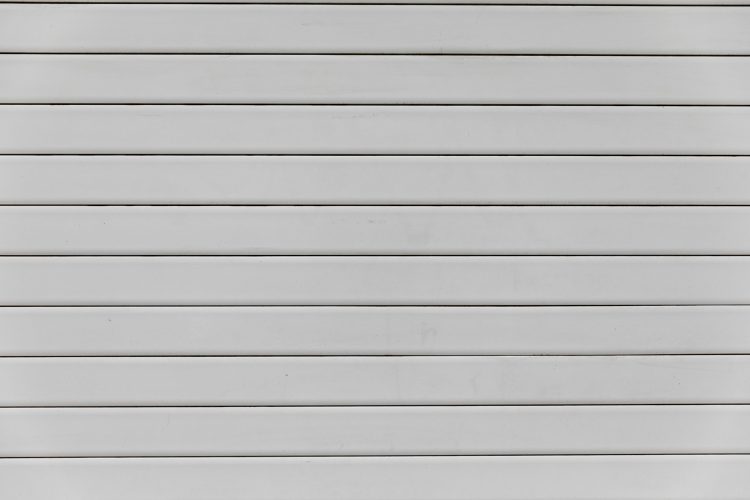
Hygienic wall cladding boards are a popular choice for environments requiring high cleanliness and hygiene standards, such as kitchens, bathrooms, hospitals, and food processing areas. These boards are designed to be easy to clean, resistant to moisture and bacteria, and provide a seamless, attractive finish. Installing hygienic wall cladding boards may seem daunting, but with the right tools and instructions, it can be a straightforward process. Here’s a step-by-step guide to help you fix hygienic wall cladding boards effectively.
Tools and Materials Needed
Before you begin, make sure you have all the necessary tools and materials:
- Hygienic wall cladding boards
- Adhesive suitable for wall cladding
- Measuring tape
- Level
- Utility knife or saw
- Caulking gun
- Sealant (if required)
- Screws and screw caps (optional, for additional security)
- Cleaning supplies (for surface preparation)
- Personal protective equipment (gloves, safety glasses)
Step 1: Prepare the Surface
Clean the Walls
Start by thoroughly cleaning the walls where the cladding boards will be installed. Remove any dirt, grease, or existing wall coverings. The surface should be dry, smooth, and free of any loose debris to ensure the adhesive bonds well.
Repair Any Damage
Inspect the walls for any damage, such as cracks or holes, and repair them. A smooth and even surface is crucial for a proper installation.
Step 2: Measure and Cut the Cladding Boards
Measure the Walls
Measure the dimensions of the walls carefully to determine the size and number of cladding boards you’ll need. Make sure to account for any fixtures, windows, or doors that may affect the installation.
Cut the Boards
Using a utility knife or saw, cut the cladding boards to the required size. Ensure that your cuts are straight and precise. If you’re using boards with tongue-and-groove edges, take extra care to cut them correctly to maintain the seamless fit.
Step 3: Apply Adhesive
Choose the Right Adhesive
Select an adhesive that is specifically designed for hygienic wall cladding boards. Follow the manufacturer’s instructions for the best results.
Apply the Adhesive
Apply the adhesive to the back of the cladding boards using a caulking gun. Make sure to distribute the adhesive evenly, covering all edges and the center of the board. This ensures a strong bond and prevents any gaps.
Step 4: Fix the Cladding Boards to the Wall
Position the Boards
Carefully position the first cladding board at the bottom of the wall, starting from one corner. Use a level to ensure the board is straight.
Press and Secure
Press the board firmly against the wall to ensure it adheres properly. Hold it in place for a few minutes to allow the adhesive to set. Repeat the process for the remaining boards, working your way up and across the wall. Ensure that each board is aligned correctly and that there are no gaps between the boards.
Use Screws for Extra Security (Optional)
For additional security, you can use screws to fix the boards to the wall. Drill pilot holes at regular intervals along the edges of the boards and secure them with screws. Use screw caps to cover the screw heads for a neat finish.
Step 5: Seal the Edges and Joints
Apply Sealant
Once all the cladding boards are fixed in place, apply a waterproof sealant to the edges and joints. This will prevent moisture from seeping behind the boards and ensure a hygienic, easy-to-clean surface.
Smooth the Sealant
Use a caulking tool or your finger to smooth the sealant, ensuring it fills all gaps and creates a seamless finish. Allow the sealant to dry according to the manufacturer’s instructions.
Step 6: Final Checks and Cleaning
Inspect the Installation
Inspect the entire installation to ensure all boards are securely fixed and all joints are properly sealed. Make any necessary adjustments or touch-ups.
Clean the Surface
Finally, clean the surface of the cladding boards to remove any adhesive residue or fingerprints. Use a mild detergent and a soft cloth to leave the boards looking pristine.
Conclusion
Fixing hygienic wall cladding boards can be a straightforward task with the right preparation and tools. By following these steps, you can achieve a professional and hygienic finish that is both functional and visually appealing. Whether you’re updating a kitchen, bathroom, or any other area requiring high standards of cleanliness, hygienic wall cladding boards are an excellent choice. Enjoy your newly clad walls and the peace of mind that comes with a cleaner, more hygienic environment. To view our online store please visit www.hygienicsheets.com


